
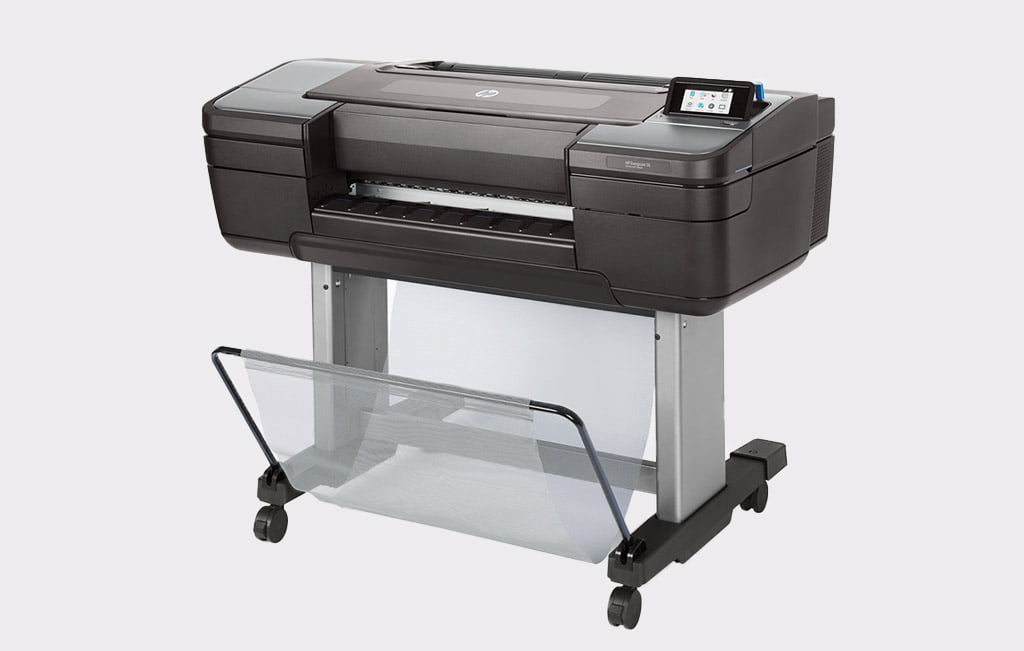
2024 Update: So, I have had the HP DesignJet Z6 Printer for four years now, and I can honestly say it has been a fantastic printer. Yes, the inks can be expensive, but if you’re looking for top-quality posters and canvases, then the HP DesignJet Z6 won’t disappoint.
Original 2020 Review
I was on the lookout for a wide-format printer for a while and hemmed and hawed about whether I would ever get the business for one or not.
All the posters I sold were either A4 or A3 size, and the real reason I thought about getting a wide format printer was to give me the ability to print canvas.
I found it very hard to find any HP DesignJet Z6 reviews online, so why did I choose the HP DesignJet Z6 in the end? It boils down to a few reasons.
1. I needed to be fit to get the printer upstairs in my home, which had a 90-degree bend halfway up. This ruled out all 44-inch models.
2. Filling up the six Z6 cartridges currently (2023) costs almost €840, which I know I can manage with the income I’m making from my design business at the moment, so with the HP DesignJet Z6, I’m taking a calculated risk. I know the quality of the Z9 would have been better, but the difference would be subtle.
3. I wanted fade-resistant pigment inks that would last for years.
So, I ordered the printer along with a roll of satin photo paper and a canvas roll and got it shipped from the UK to Ireland for a total of €2400 from www.graphicdesignsupplies.co.uk who were very helpful in helping me make up my mind. I was back and forth with questions, and they were super-fast to respond.
The pallet arrived in about 4-5 days, and it just about fit through my front door; the door measures 31 inches and the pallet is 29 inches.

I built the legs in around 40 minutes, and then it came time to try getting the big beast up the stairs. The size and weight are some of the things I took into consideration when I was doing my homework. I knew I could manage the HP DesignJet Z6 because it only weighed 76 kg, which is a fair bit lighter than the Canon and Epson counterparts. Luckily, with these printers, you can flip them on their sides before you put the ink in. Once that ink goes in, you have to keep it flat.

With the printer on its side, I gently flipped it and lowered it meaning the other end landed on the 4th or 5th step. From there, I lifted the bottom end, and my wife lifted it one step at a time.
Once the building was complete, I must state that the instruction manual provided was very clear and precise. I powered it up, and the small display on the printer instructed me very clearly through the setup process. I installed the six 150-ml ink cartridges that came with the device and the three print heads and put the satin photo paper that I bought along with the printer onto the 2-inch spindle. The HP DesignJet Z6 then collaborated and print head alignment, which took around 15 minutes.
One of the faults with the DesignJet Z6 in my book is the lack of built-in WiFi.
GraphicDesignSupplies.co.uk did provide a LAN cable which is about 5 meters but sadly not long enough for my needs. Because of this I went on Amazon and purchased a 20m LAN cable as I knew the printer would be a good bit away from my router.
Once connected, I did a quick search on the computer for new devices and quickly picked up the new printer. From here, I downloaded the HP software, including the HP Click, which is a handy tool for searching for the paper being used, aligning, and adding cut lines around the edges of your posters, plus a few more features.

The Start-up of the HP DesignJet Z6 takes roughly 30-40 seconds
OK, so enough about the setup, what’s the print quality actually like I hear you ask?
Well, pretty impressive, I have to say. I was a little sceptical because it was so hard to find any reviews or videos online, but I took the pledge, paid the money, and I’m delighted with my decision.
This is a video of the personalised newspaper back page poster I printed in A2 size. The text and images are sharp, and the colours really pop.
https://youtube.com/watch?v=uYXVGSAaEyk%3Fautoplay%3D0%26mute%3D0%26controls%3D0%26origin%3Dhttps%253A%252F%252Fmanage.wix.com%26playsinline%3D1%26showinfo%3D0%26rel%3D0%26iv_load_policy%3D3%26modestbranding%3D1%26enablejsapi%3D1%26widgetid%3D1
I have purchased a canvas roll but need a 3-inch spindle for the printer in order to use it. I should have it any day now, and when I get a chance to test it, I will update this review.
The touch display is easy to use and provides you with all the usual information like remaining ink levels, print queue, USB printing, printer usage, etc.
One thing I would recommend is getting some dust cover as this thing is a magnet for dust.
HP gives you a starter ink set that gave me just over 50% on their display levels.
At the time of writing this, I have printed 2 x A2-sized posters and 2 x 18×24-inch posters. The ink levels haven’t moved a lot except for the photo black. I did order a black ink cart, as I knew this would be the first to go. I’ll pick the other colours up as they get to around 20%
The full 330-ml ink tanks for the HP DesignJet Z6 cost around €140 each.

A couple of other things I like are the fact that the print heads are cheap compared to the Canon Pro printers. Again, I’m unsure how often I’ll be using the HP DesignJet Z6, but this may be important if print heads get clogged. I’ll be printing a couple of times per week, regardless, just to keep the ink moving through it.
The print heads for the HP DesignJet Z6 are universal and cost around €90–€100.
The printer is also nice and flat on top, which is useful for putting your prints on.
UPDATE
Each 300-ml ink tank will cost around 130–140 euros.
The canvas comes out exceptionally well, and a lot of my customers have been delighted with the results.
My only gripe would be that the printer can’t cut the canvas, so you will have to manually unload the roll and cut the roll yourself before loading the roll back into the printer.
I have uploaded a few videos on my YouTube channel where I print photos at the end using the DesignJet Z6.
If you’re looking for a printer that can print crisp and sharp images with vibrant colours then you can’t go wrong with the HP Designjet Z6.